
大きな壁面をキャンバスにしたロックガーデン 松本市 T 様邸
CATEGORY:
カースペース・ロックガーデンをとの事でお打ち合わせがスタート致しました。
植栽関係のお仕事をされているT様。
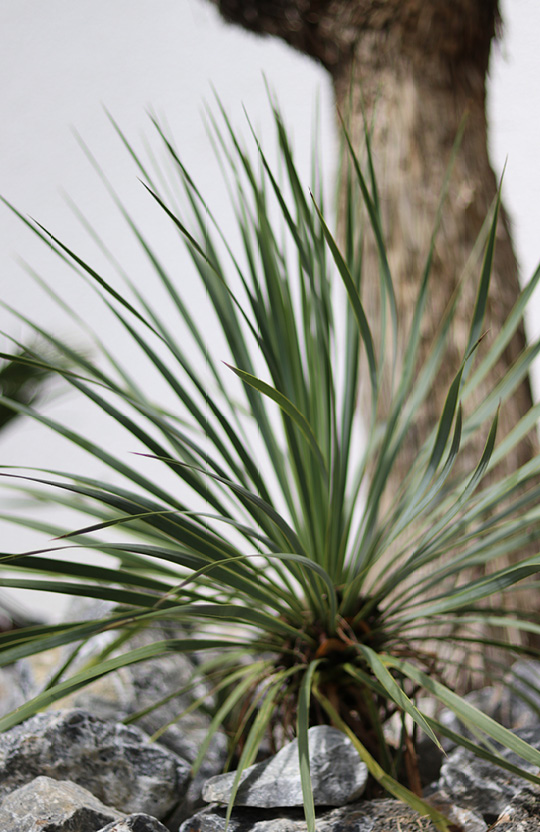
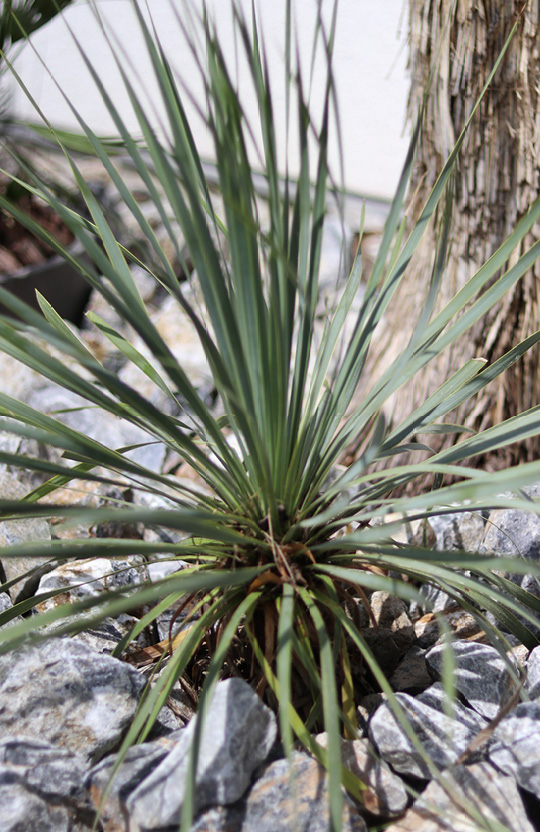
耐寒性のあるオリーブ・ユッカが有るとの事で、オリーブ・ユッカはT様にご用意いただき、工事をさせていただきました。
私自身、初めてのオリーブ・ユッカを植える事になり、とても勉強になるT様邸でした。
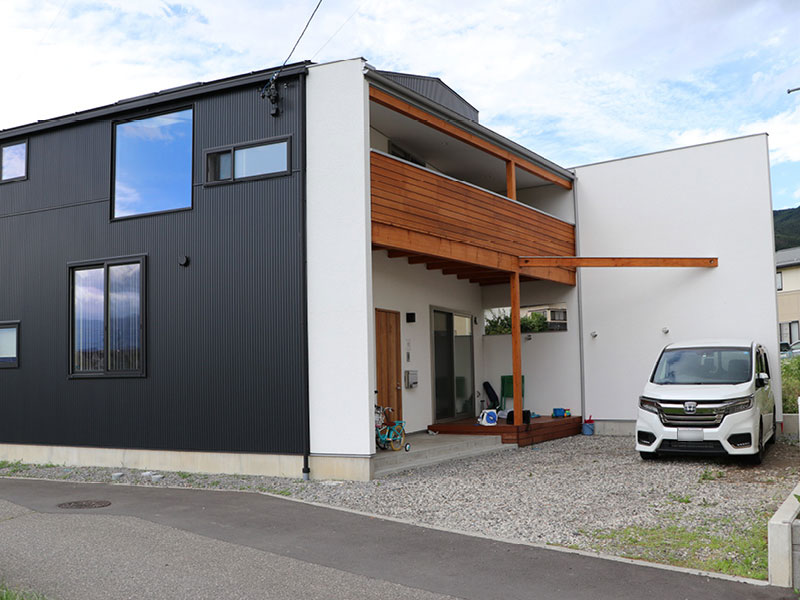
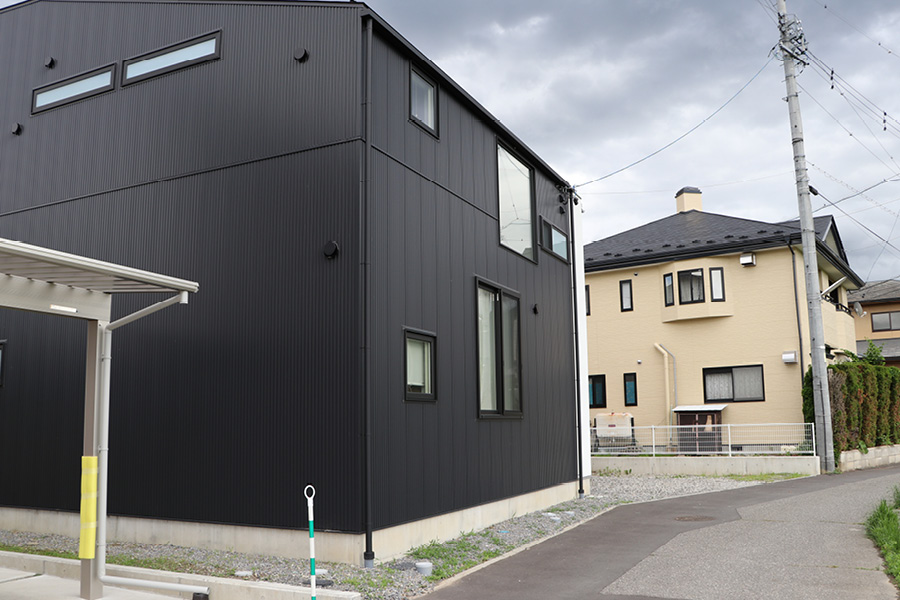
施工前のT様邸
もともシンプルモダンの素敵な建物で、奥の大きな壁面が印象的な建物です。
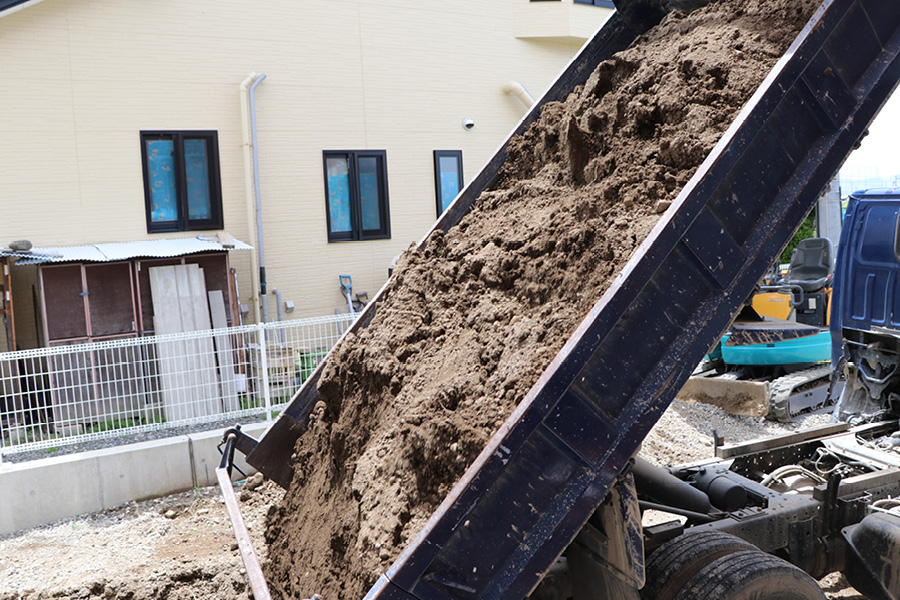
いよいよ工事開始です。まず床掘を行い、植栽用の客土を行います。
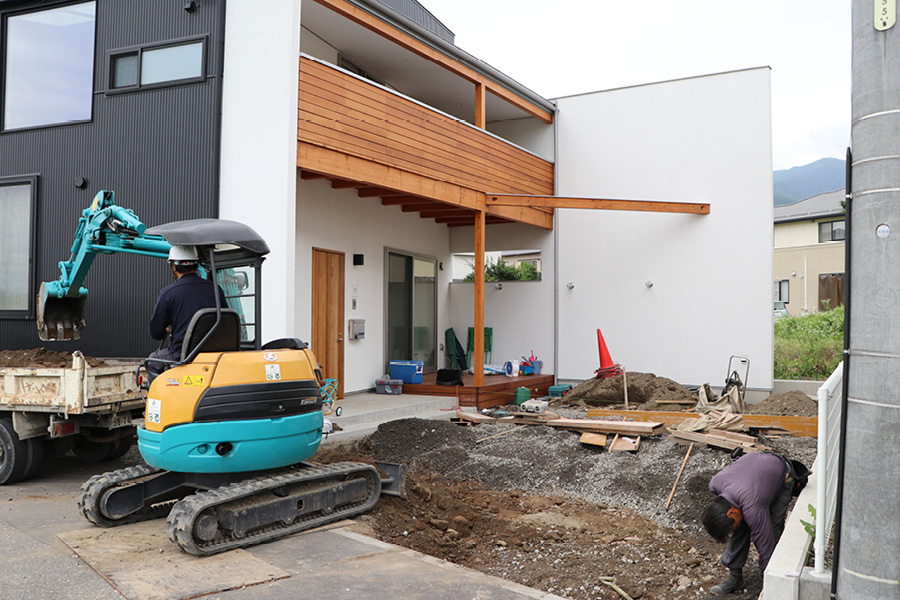
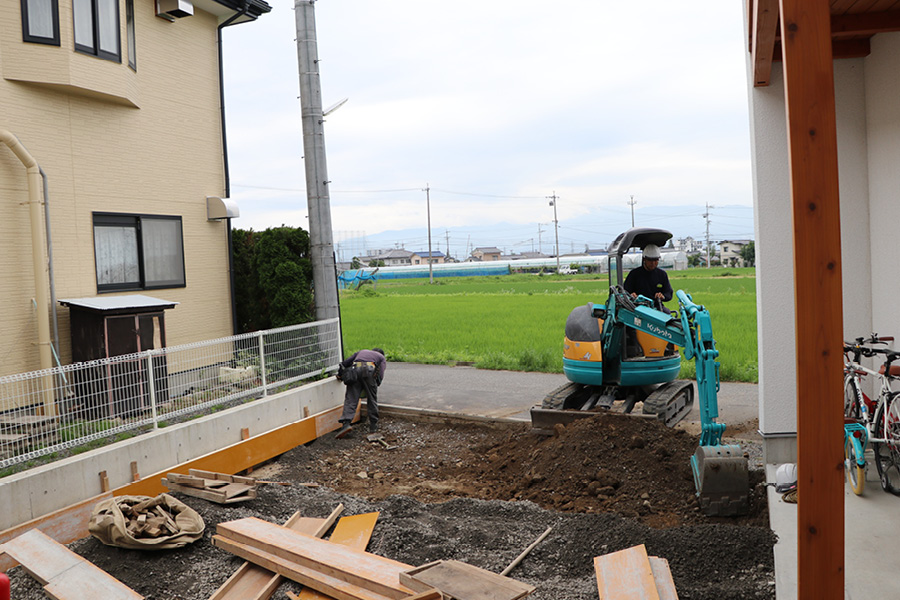
カースペースの掘削し、コンクリートの下地の砕石路盤を作っていきます。
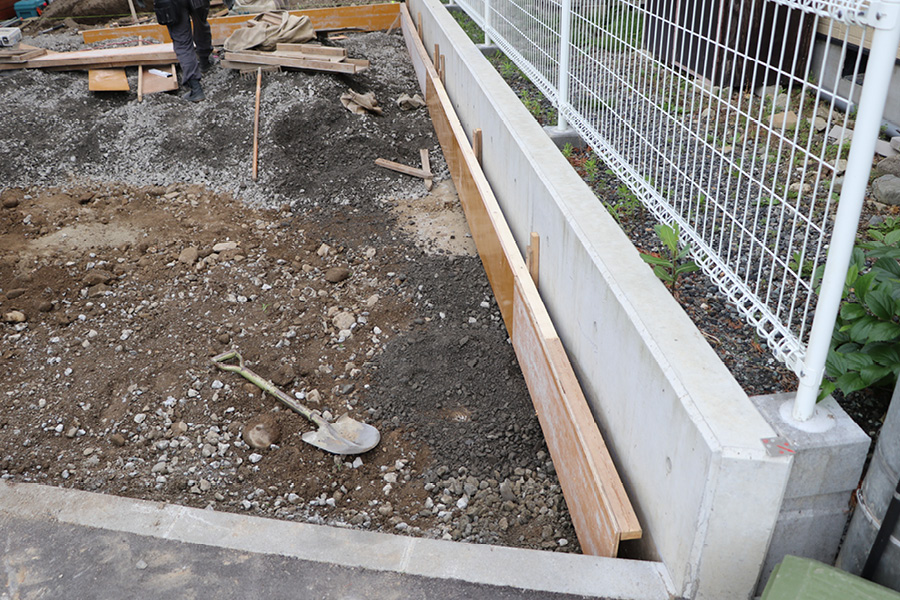
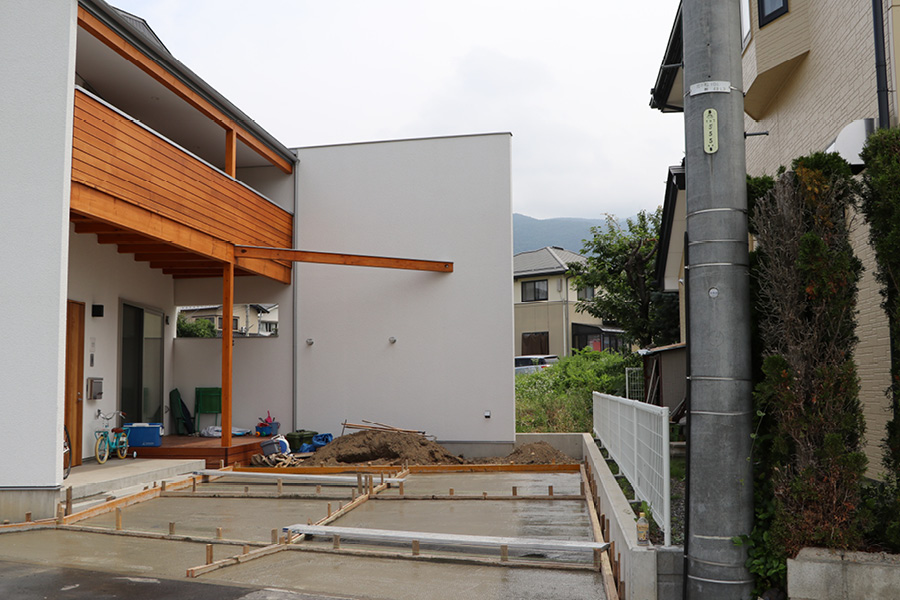
コンクリートの型枠を作っていきます。
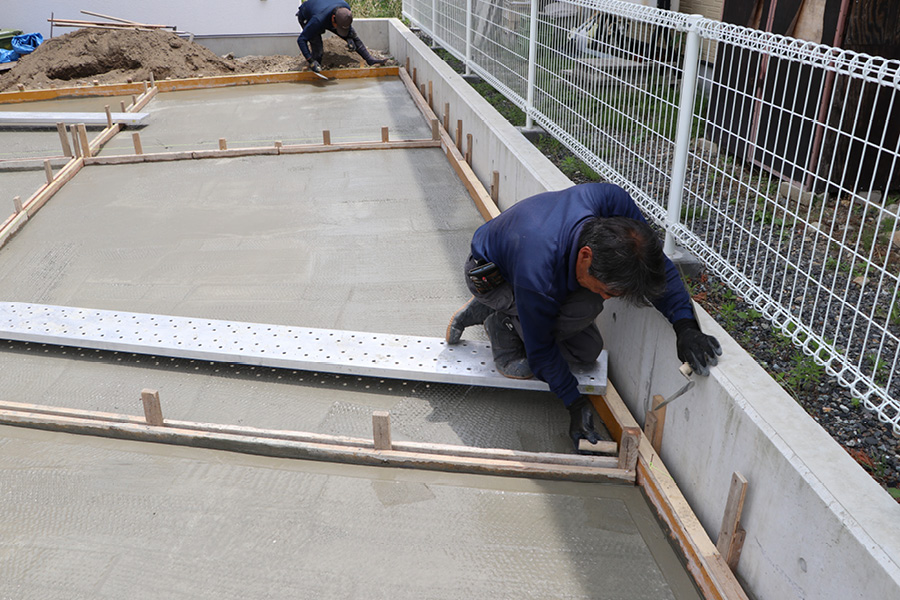
コンクリート打設後、職人さんが丁寧に左官作業を行います。
コンクリートは、左官の技術により、仕上がりに差が出ます。
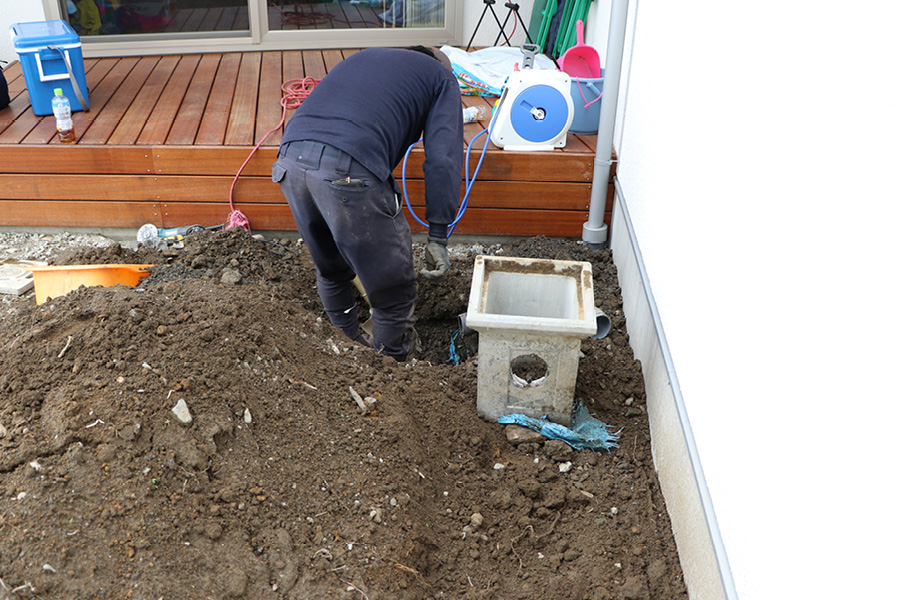
既存の雨水枡の高さを調整し、ロックガーデンの中でもメンテナンスしやすいように致します。
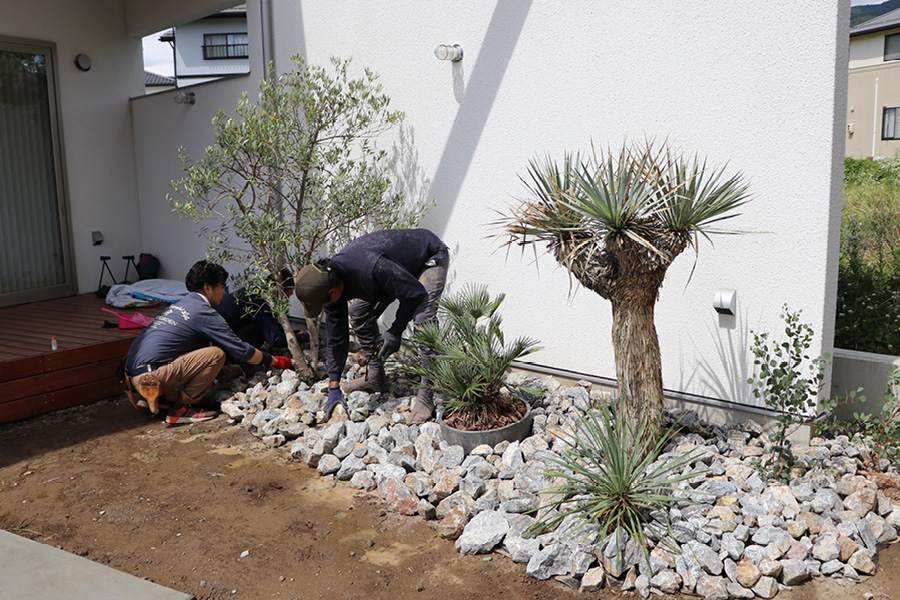
植栽は、樹形をみて植える位置・向きを確認し植えていきます。
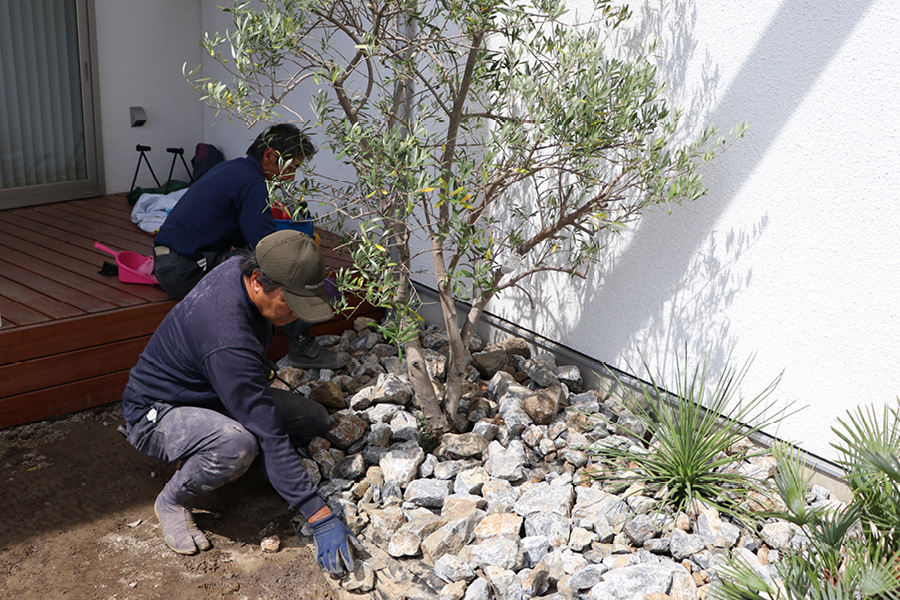
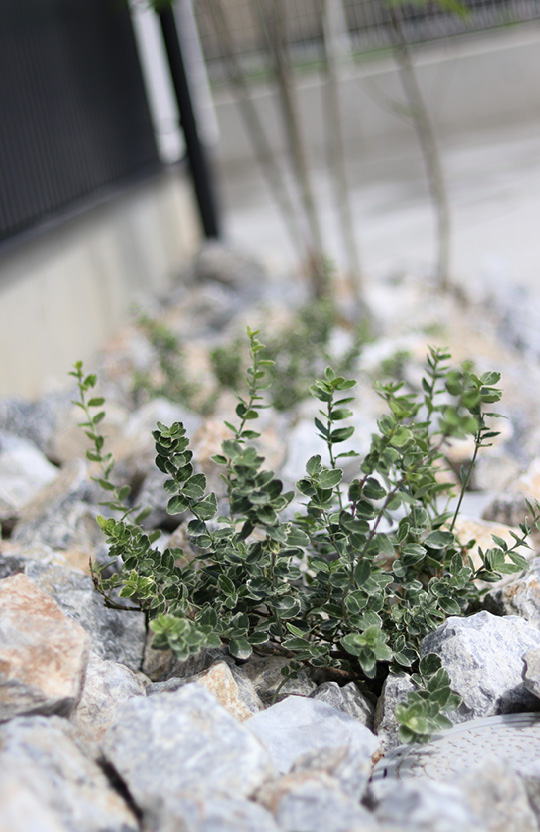
その後、ゴロタ石をマウントを作りながら並べていきます。
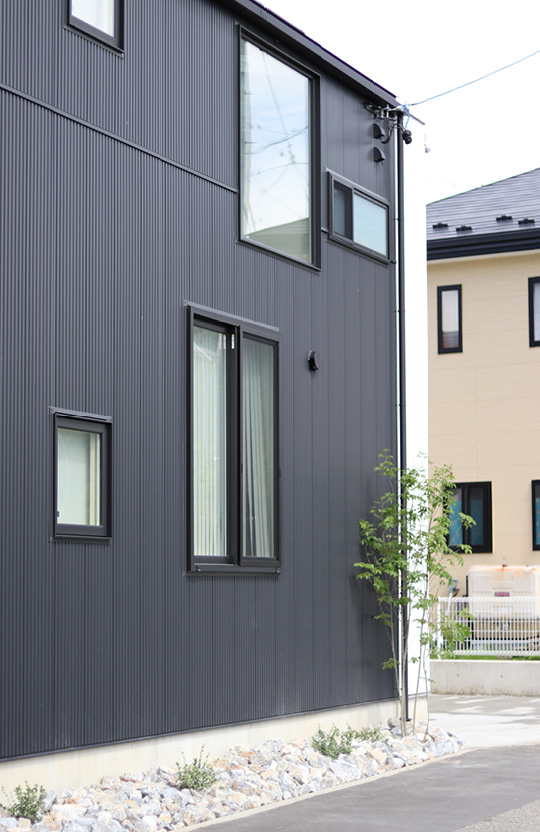
モダンな黒い外壁の前に白いゴロタ石を積んでいきました。
このゴロタ石は、塩尻のプラントで砕石になる前の石です。
白と緑が良く合います。
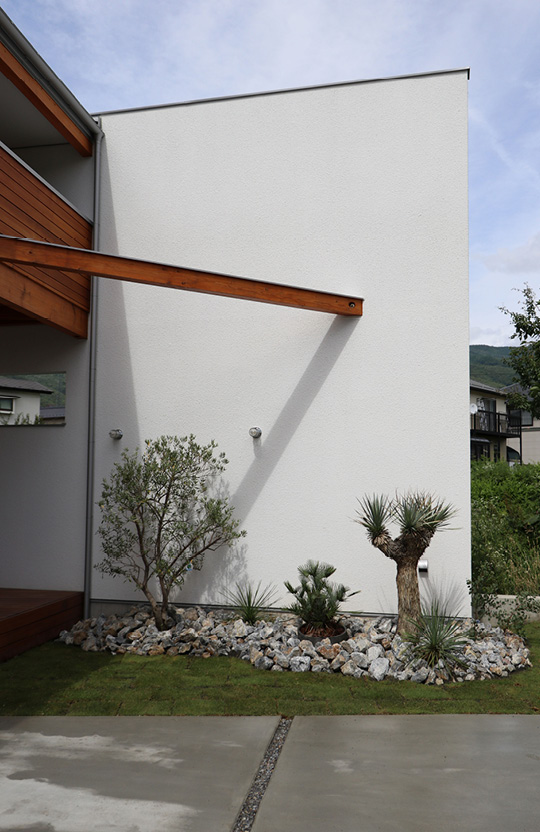
最後に高麗芝を貼っていよいよ完成です。
大きな壁面の前にオリーブとユッカを植えました。
成長が楽しみです。

