
エクステリア工事のご報告 松本市N様邸 渡り廊下・中庭
母屋と離れをつなぐ渡り廊下、その空間をつなぐ中庭の施工中風景です。
ご覧下さい。

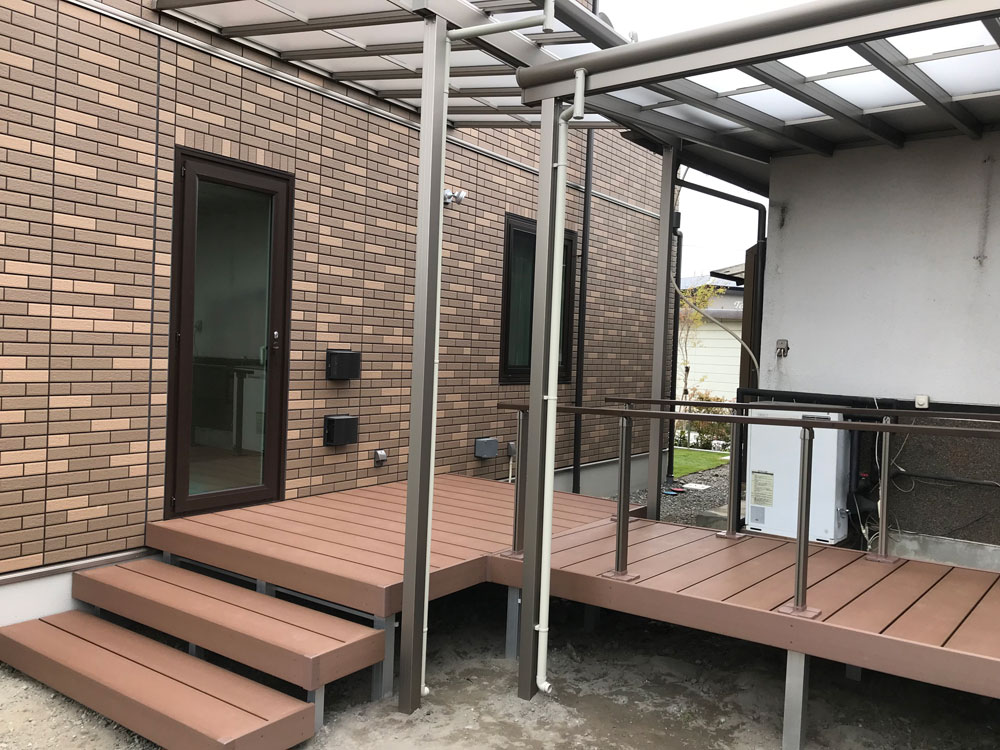
・差掛け(三協アルミ・レボリュー)
・ウッドデッキ(三協アルミ・ひとと木)
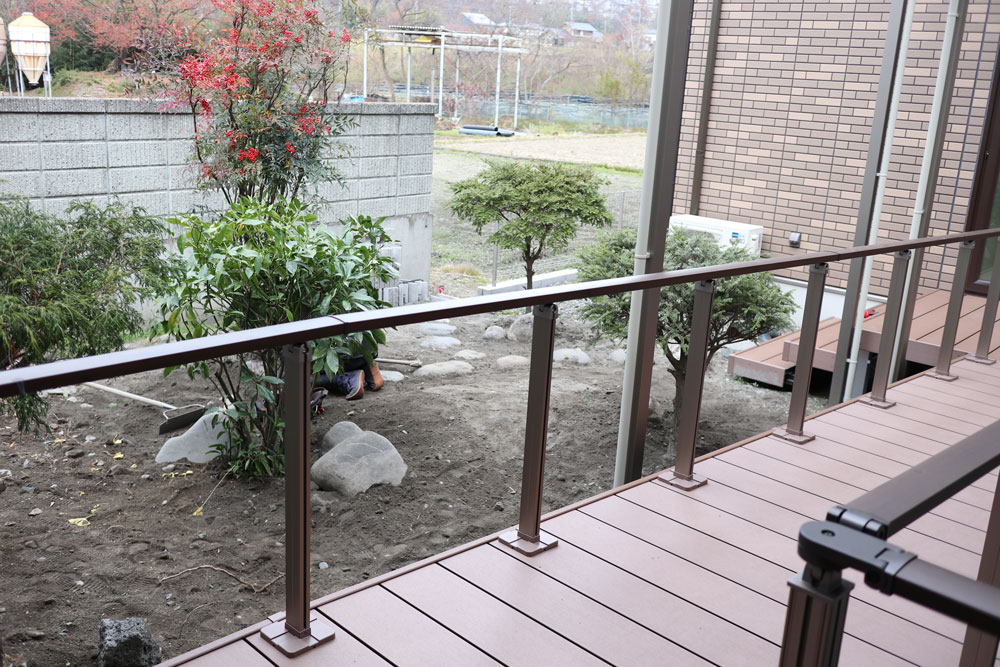
手摺を(三協アルミ・デッキフェンス マイリッシュ1型 )を採用し施工致しました。
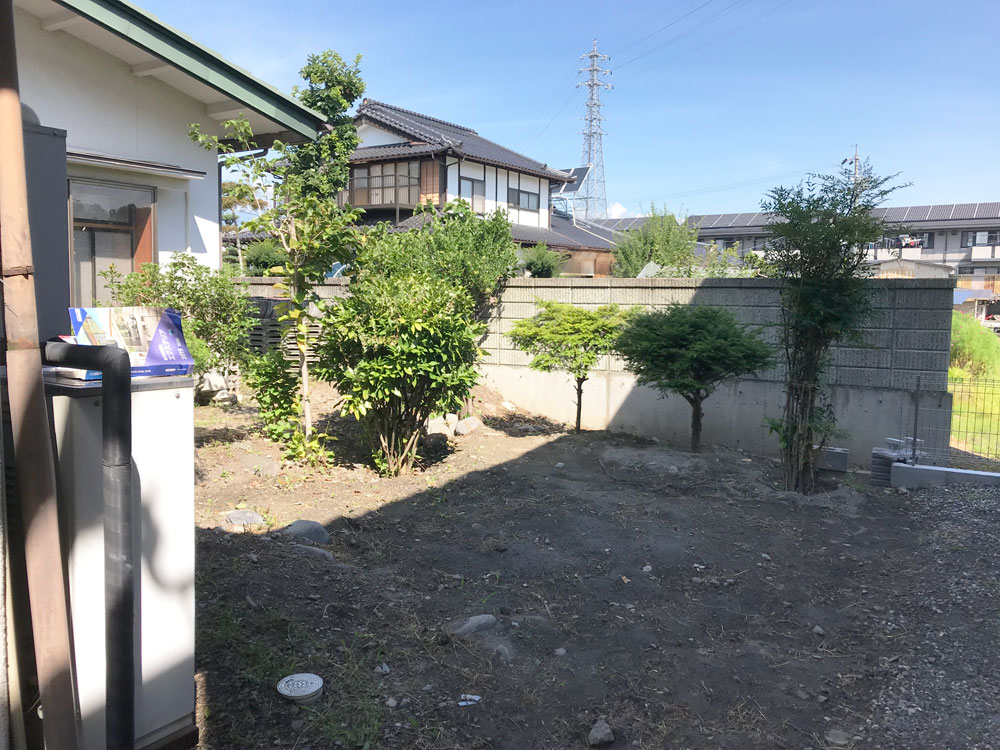
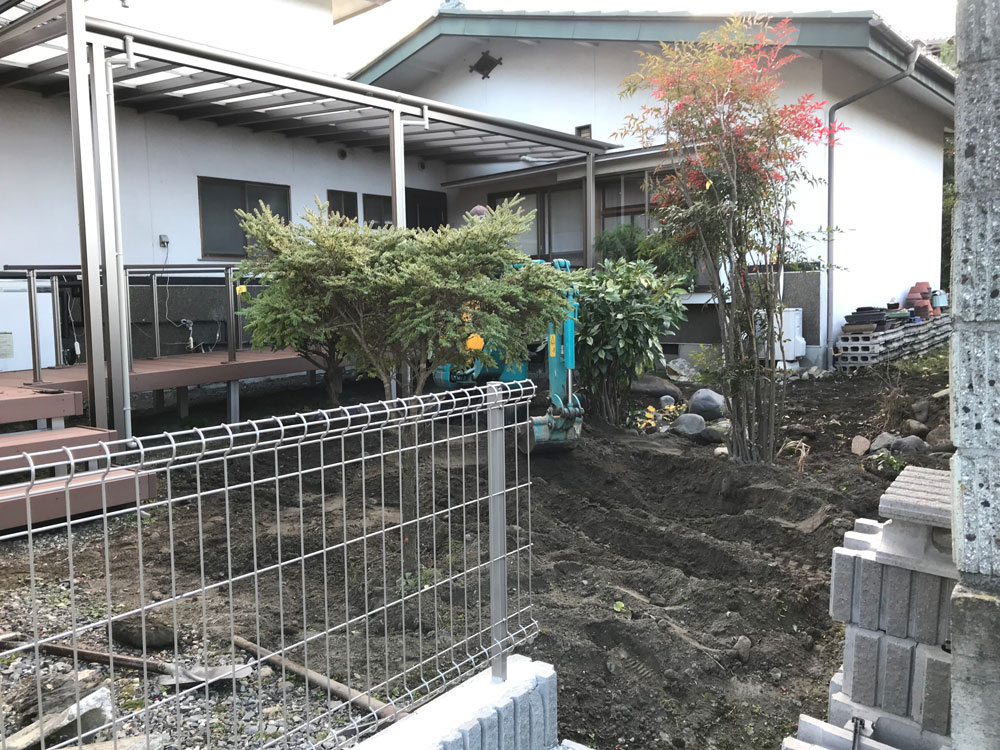
施工前の風景

ウッドデッキの基礎を作っていきます。
離れと母屋との高低差が約20cmほどあり、 調整しながらデッキ基礎を掘削していきます。
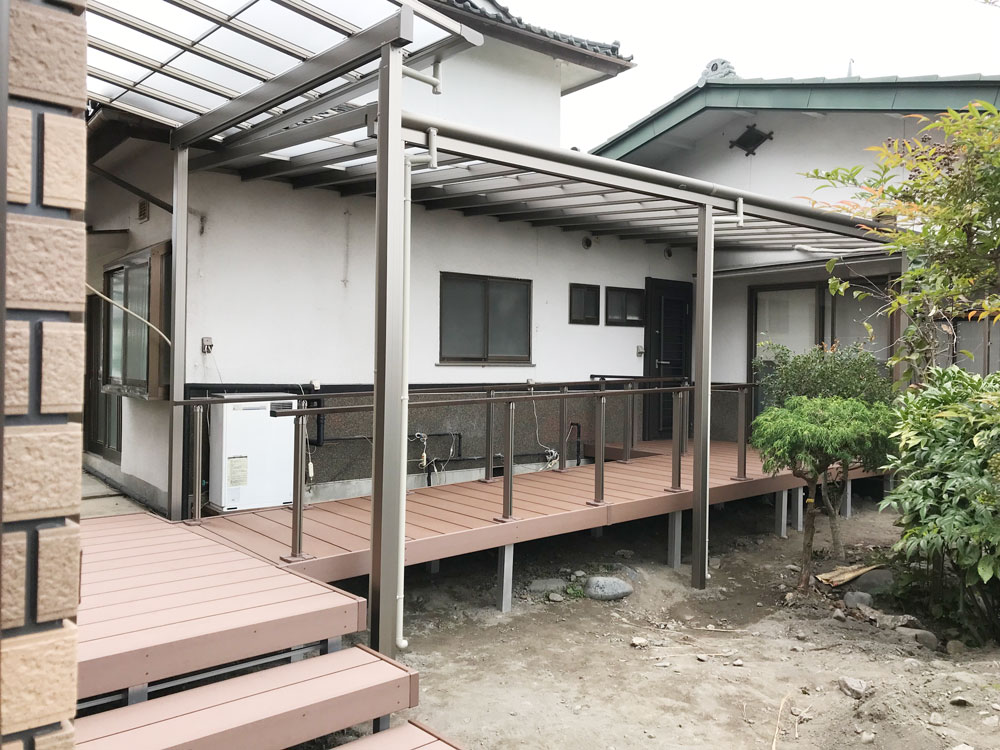

離れのお勝手口と母屋の入り口がL字になっている為、 三協アルミ レボリューを2棟使います。
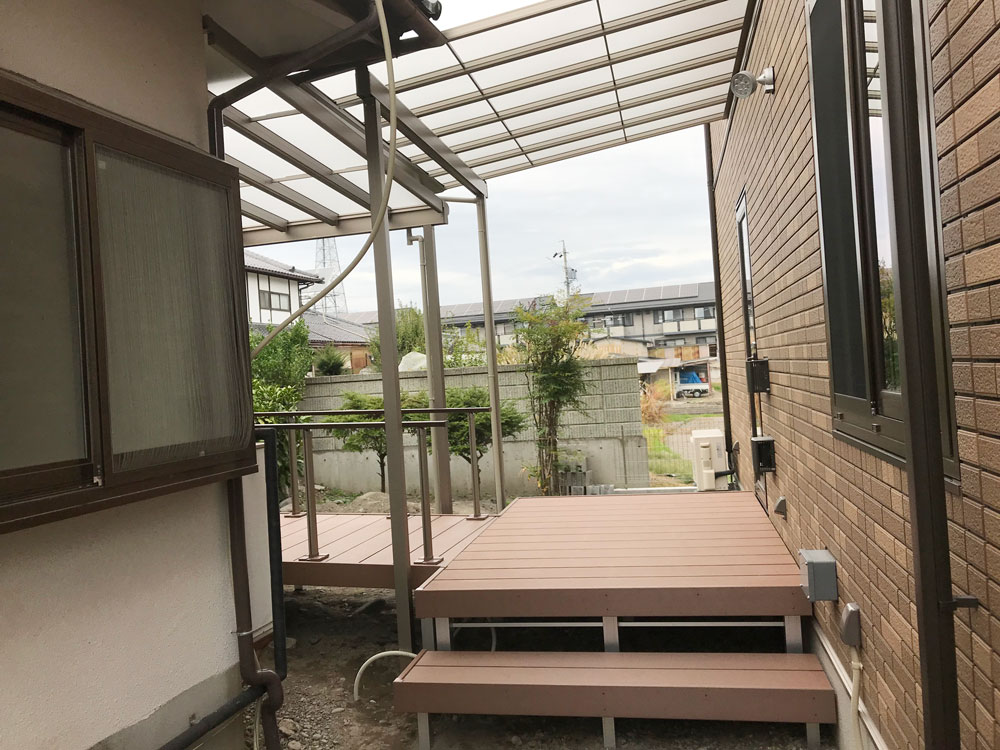
母屋と離れの配置が直角では無い為、 差掛けを重ねて施工し、デッキ部分は つなぎの部分の最終的な加工を致しました。
加工した部分も綺麗に収まり、職人に感謝です。
渡り廊下はほぼ完工です。
後はセンサー付きのライトを施工します。


既存の植栽を整理し、使う植栽は剪定を行い綺麗にしていきます。


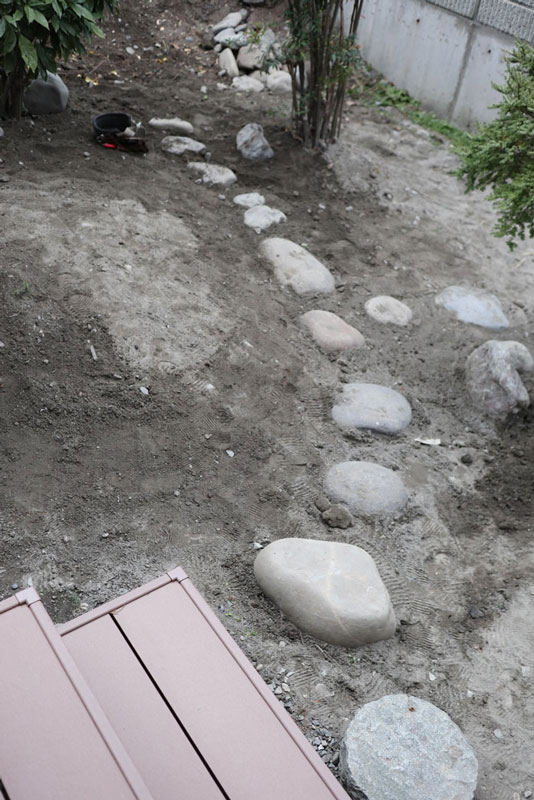
掘ったら出てきた石と、使わなくなった漬物石で飛石を作ります。
大きなゴロタ石を植栽の脇に据えてアクセントを入れていきます。
中庭の真ん中辺りをマウントさせ、春にコウライ芝を貼ります。
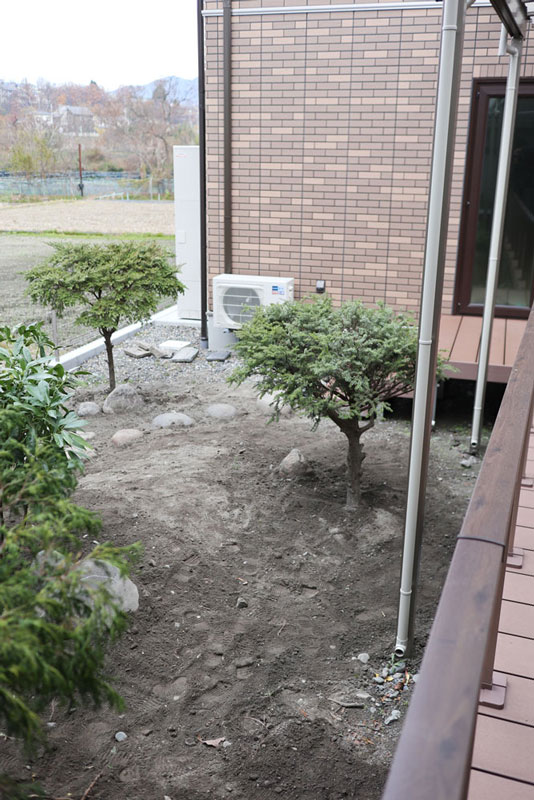

今回の中庭は、N様邸にある素材のみで構成しています。
新しく使う物は春に施工するコウライシバと単粒砕石のみです。
グランドカバーが入る事で完工となります。
春が来るのが楽しみです。
松本市 N様邸 完工後のエクステリア写真 詳しくは、こちら(施工事例ページへ)

